# Start a Blog in 20 minutes
Sep 2, 2015 9 minute readCreating a blog can be a daunting task. Bloggers need to answer questions such as: How will it look like? Where will new posts be written? Where will it be published? How much will it cost? This guide describes how to start a free blog on GitHub Pages. The source code is available on GitHub.
Blog Building Blocks
Websites are complex pieces of technology. They are mostly composed of multiple layers of software ranging from low-level network package transmission to high level presentation styling. Blogs are only a special case of website.
Content: The most important component of a blog. Blogs are read mainly because of the quality of the posts. The blog posts from this guide will be written using MarkDown.
Blogging Engine: The software that transforms the content into a nice HTML page that can be read in a web browser. Blogging engines are also responsible for applying a consistent style through the entire site. There are many flavors of blogging engines that range from self-made to cloud based.
Jekyll will be the blogging engine of choice. It is a lightweight static site generator with great templating capabilities. Jekyll also happens to be the engine that powers GitHub Pages.
Hosting: A blog cannot be accessed through the Internet unless it is hosted somewhere. Hosting providers serve the bits of information through the wires into the reader’s computer. 1 As with blogging engines, there is a great variety of hosting providers.
GitHub is a web-based source code repository hosting platform. They have a variety of free and paid services. One of these free services is GitHub Pages. It provides all the infrastructure to quickly bootstrap a static site. A GitHub account is required to use GitHub Pages. GitHub accounts must be unique. codingdogg will be the account for this guide.
Bootstraping the Blog
Selecting a Theme
Blogs need great content to be relevant. However, a nice visual style can do no harm. Themes are the foundation of a blog’s visual style. They are the fastest mechanism to come up with a nice and consistent presentation. This blog will start off an existing theme from the Jekyll themes website. 2
1- Open http://jekyllthemes.org/
2- Select a theme. This guide will use the Pixyll theme.
3- Click the Homepage button. It will display the GitHub repository for the theme. Repositories are buckets where the source code is stored. They belong to a GitHub account and their names do not have to be unique. In this case the repository name is pixyll and it belongs to the account johnotander.
Creating the source code repository
Websites are made out of source code. Every element that can be seen on the screen: images, text, links, is built with source code. Since blogs are only a special case of website they need source code too. Our blog’s source code will not be written from scratch. On the contrary, most of the theme’s source code will be reused. Code reusability is a very common practice that allows to build new products based on existing products built before.
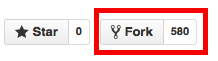
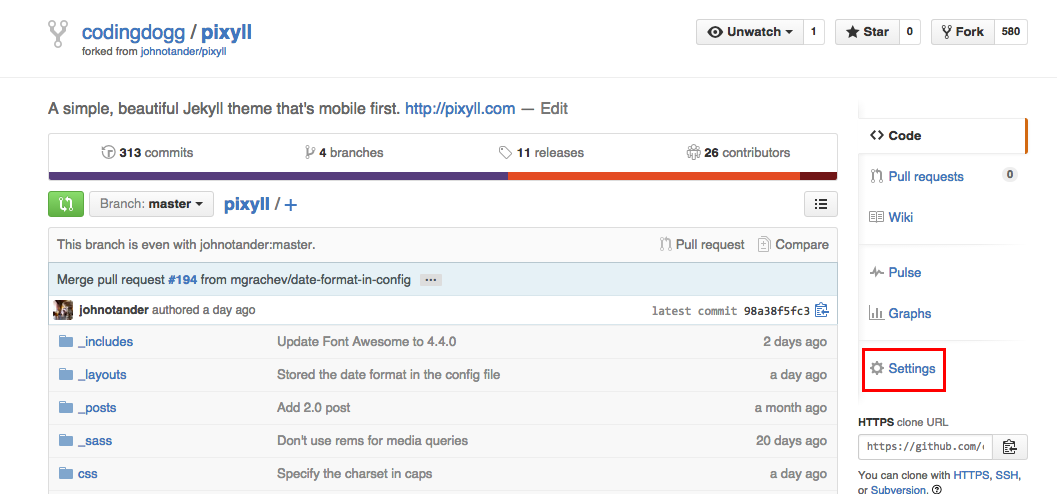
1- Click the Fork button on the top right corner. Forks are repositories created as exact copies of other repositories. The new fork name is pixyll and it belongs to the codingdogg GitHub account. However, repository names need to follow certain guidelines in order to be published on GitHub pages.
2- Click the Settings button
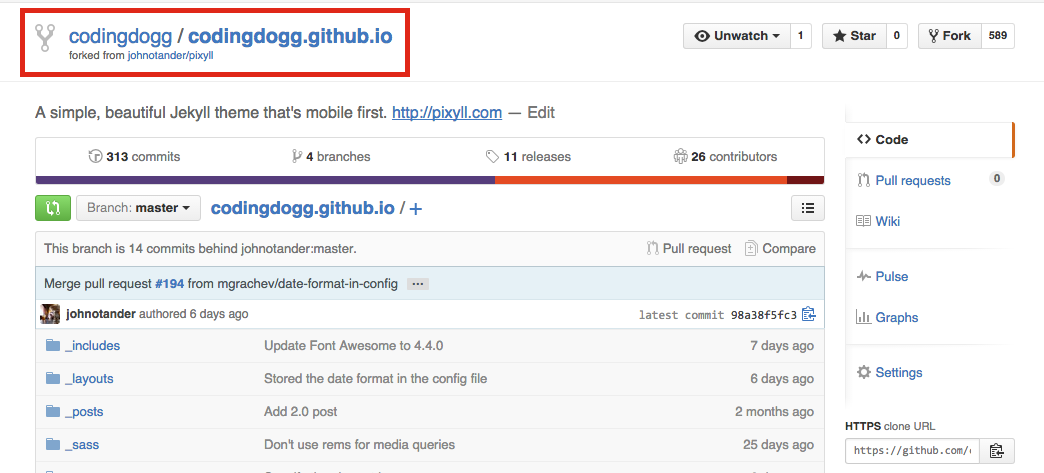
3- Enter the new repository name and click Rename.

From now on the blog repository will be codingdogg.github.io. Make sure your repository name starts with your GitHub username and then it is followed by .github.io.
Previewing the blog
Blogs can be edited in private before being published. An infinity of changes can be made from the authors computers before the content is ready for primetime. The first step to preview and edit the blog is to download its source code from the GitHub servers. This process is called cloning.
1- Make sure Git and Ruby are installed. 3
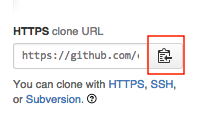
2- Copy the repository clone url.
3- Open a new Command Line window.
4- Clone the repository. The clone command creates a new folder named after the repository. Make sure to replace everything after git clone with the clone url from the previous step.
git clone https://github.com/codingdogg/codingdogg.github.io.git5- Open the blog folder in the command line.
cd codingdogg.github.ioThe remaining commands will be executed from this folder. 4
6- Install prerequisites. This blog requires Jekyll to run. The following command installs Jekyll and makes it available to all users. The installation prompts for your password because it needs elevated privileges. 5 Unfortunately, installing Jekyll on Windows requires many more steps.
sudo gem install jekyll jekyll-sitemap7- Launch the blog.
jekyll serve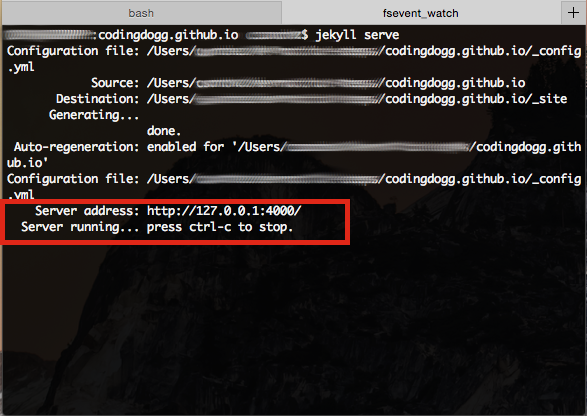
The command output indicates that the blog is running on http://127.0.0.1:4000/.
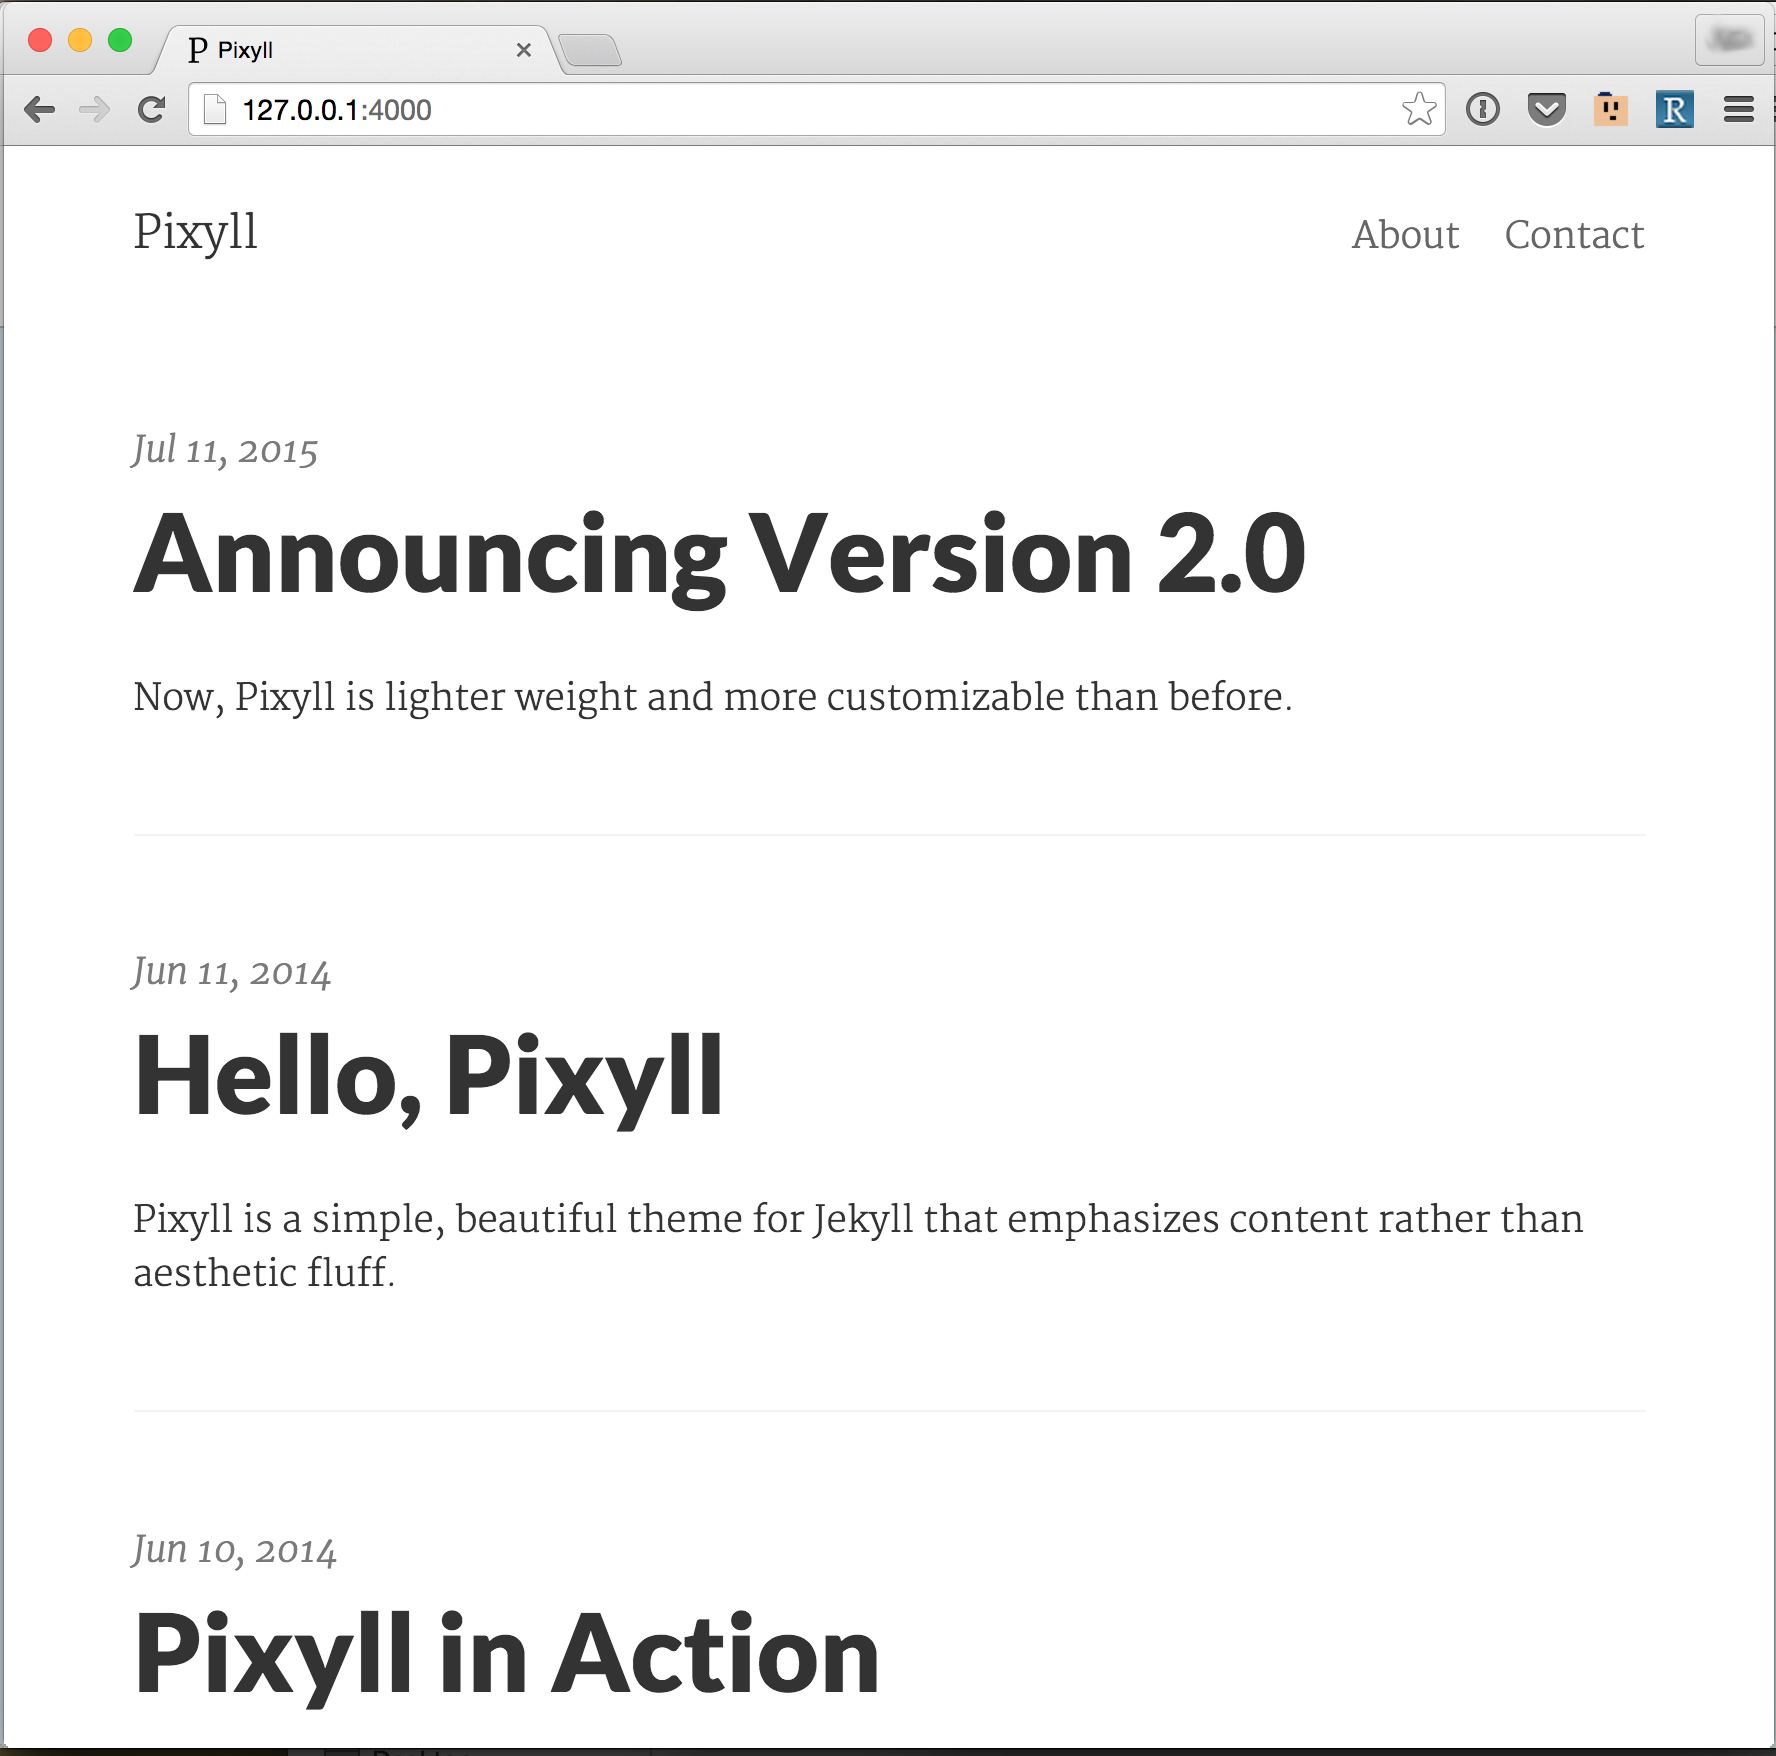
8- Open http://127.0.0.1:4000/ in a web browser. At this point the blog is fully functional. It even has some sample content.
Modifying the content
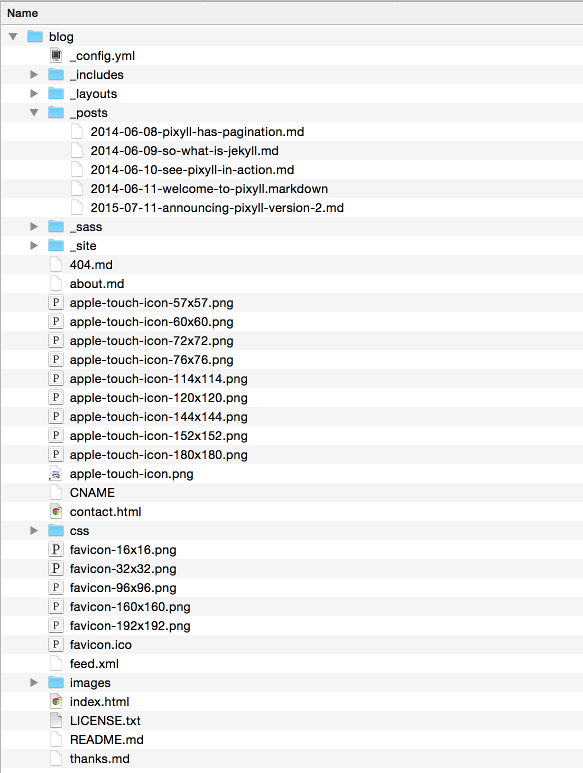
A blog with default content can be very boring. Fortunately, Jekyll is a highly customizable tool that provides great freedom. This blog has the typical folder structure of a Jekyll blog.
Requirements: jekyll serve must be running for the content changes to reflect automatically. Additionally, configuration changes require a server reload to reflect.
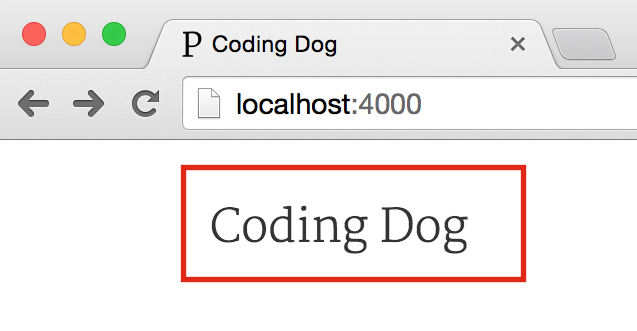
General Settings: _config.yml has the configuration settings for the blog: name, url, social media accounts, Google Analytics account, etc. Modify this file at will.
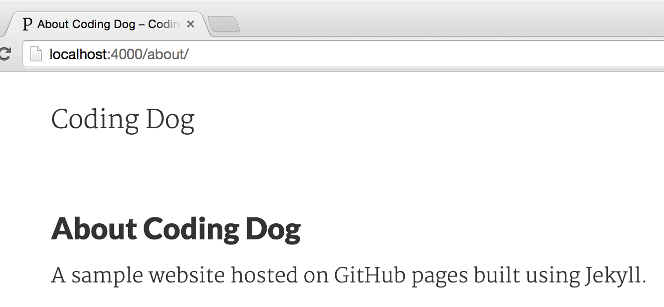
About page: about.md contains the content for the About page. Feel free to modify it adding some content about your blog.
Footer: The content for the footer can be found in _includes\footer.html. This is how the footer looks like after some minor tweaks.

Writing posts
Blogs need posts to be real blogs. [citation_needed] Our blog comes with some posts by default.
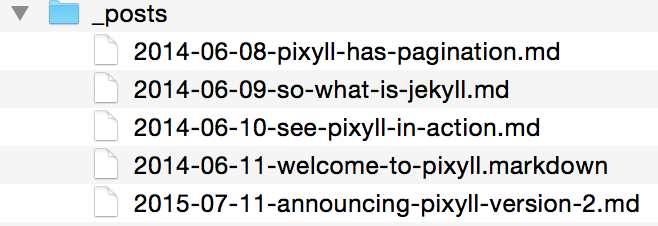
Jekyll transforms every file from the _posts folder into a blog post. When a new file is created the corresponding post appears. In the same way, when a file gets deleted its post disappears. 6
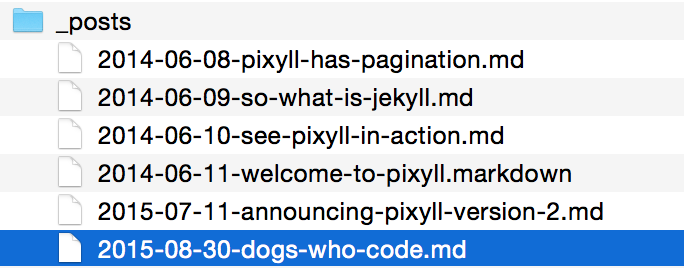
First Post: The first post will start with a new file in the _posts folder named 2015-08-30-dogs-who-code.md.
Edit the file with your favorite text editor and add the following text to it.
---
layout: post
---

Dogs can code sometimes.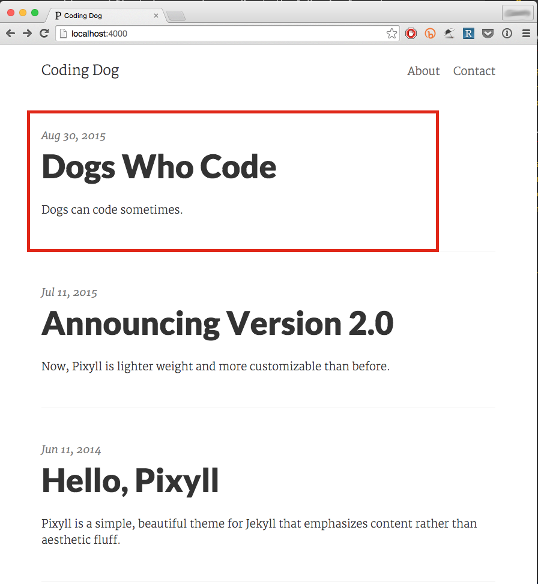
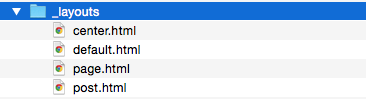
Metadata: Posts should start with a section enclosed by --- called YAML Front Matter. The Front Matter defines the post metadata. Metadata includes: title, url, categories, date, even user-defined pieces of information. 7 We specified the post to use the post layout. Jekyll layouts are styles that will be commonly applied to all the files that use them. They are stored in the _layouts folder.
Content: The content of the post comes after the YAML Front Matter. Posts are written using the MarkDown language. Writing MarkDown is very similar to writing plain text and way easier than writing HTML. Entire blogs can be published with very little knowledge of it. 8
Publishing the Blog
The final result of any website is to get published so the entire world can see it.
CNAME: The source code repository contains a CNAME file. For the moment we just need to delete it. 9
rm CNAME > /dev/null 2>&1Windows users should run the following command instead.
del CNAMEThis is a one time only operation. There is no need to delete this file for subsequent publishes.
Publish: GitHub has a copy of the blog’s source code. This code that resides in GitHub is ultimately what the readers will see. The mechanism to upload local changes to GitHub is called pushing. The following command creates a commit and then pushes it to the remote repository. 10
git add -A && git commit -m "publishing" && git pushSuccess: The blog is now available at http://codingdogg.github.io/.
-
Web Hosting Services on Wikipedia. ↩
-
Since the default Jekyll installation comes with a preinstalled theme, it is not mandatory to start off an existing Jekyll theme. However, Jekyll themes provide a consistent visual foundation that can be easily tweaked. They can save a lot of work. ↩
-
Git Installation and Installing Ruby show how to install Git and Ruby respectively. ↩
-
CD Command on Wikipedia. ↩
-
There are other ways to install Jekyll without prompting for the password. ↩
-
Jekyll posts on the official Jekyll documentation. ↩
-
Front Matter on the official Jekyll documentation. ↩
-
CNAME files are used by GitHub Pages to make websites available through a custom domain. ↩
-
Read Git Workflow to learn more about Git and commits. ↩